Tutorial 5
Incorporating cameras and post-processing into my self study scene, I went for a non-rotational player-following camera as my main (Figure 1). I thought keeping the player in view would allow for the game to have some movement, but without rotational matching there was still a slight sense of disconnect that fit the weird atmosphere of my scene.

(Figure 1 - player follow camera settings.)
My initial post-processing effects (Figure 2) went for an alien feeling, using a bit of camera distortion to push the camera away from the player, alongside bloom and colour grading for more contrast. I added a tiny bit of chromatic abberation, since the game's assets look a little retro to me.
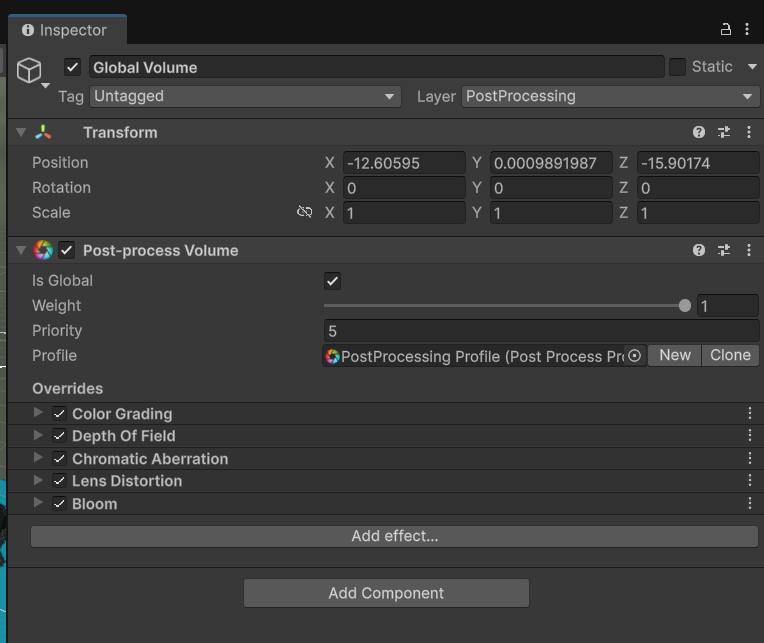
(Figure 2 - global post-processing settings.)
For my second-cam setup, I decided to go for a dolly camera that moved along a path (Figure 3) from the game's start point to my building. For dynamic switching, I set the main camera to change to this dolly cam (Figure 4) a bit after play starts, then switch back, using an animation.
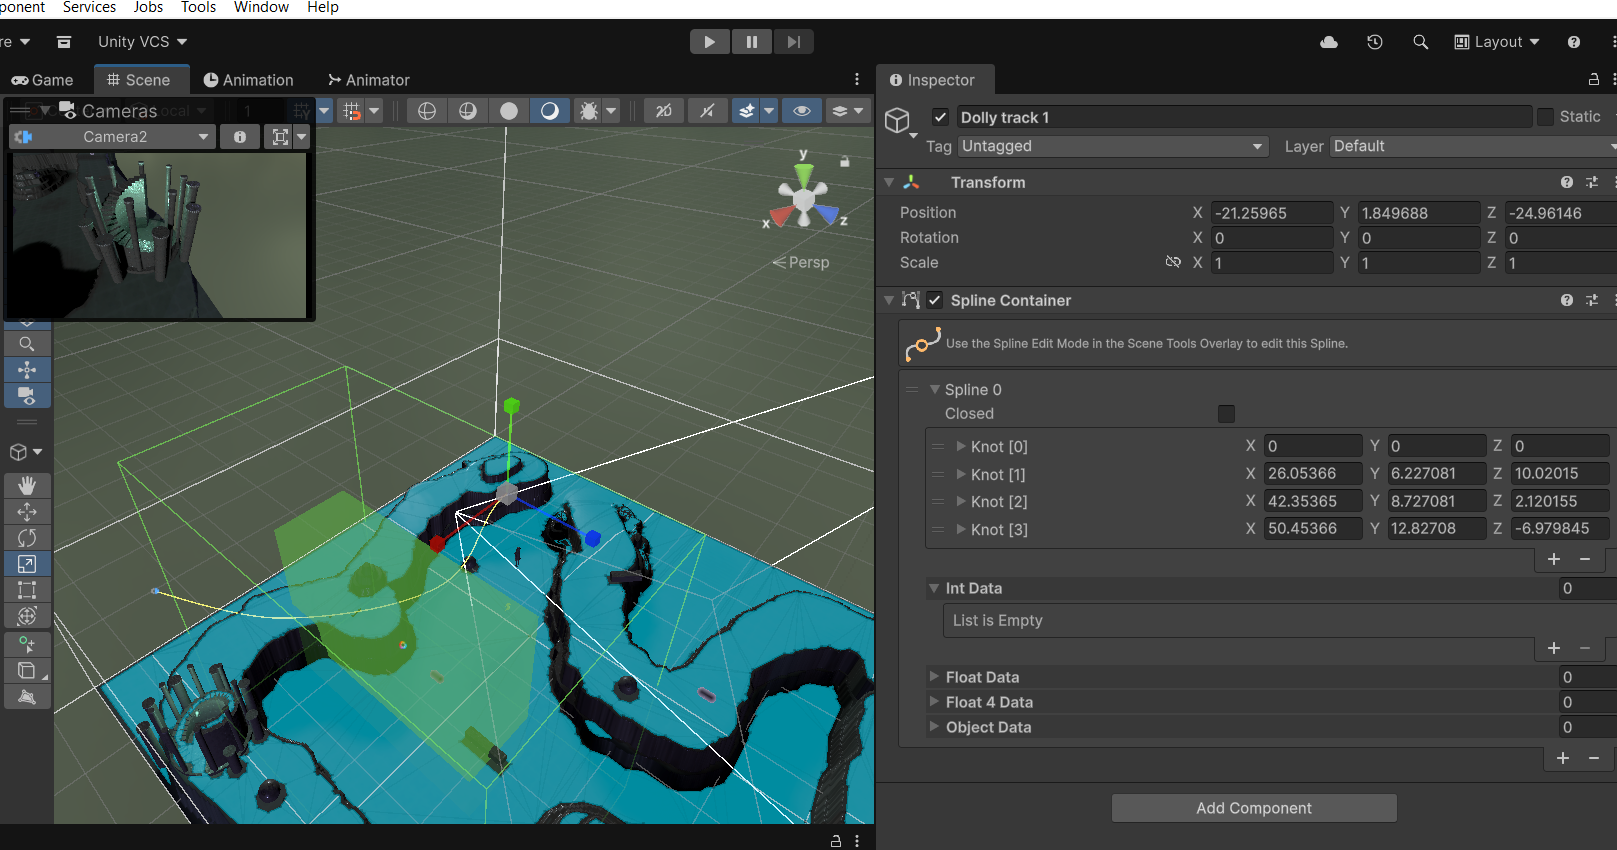
(Figure 3 - dolly track.)
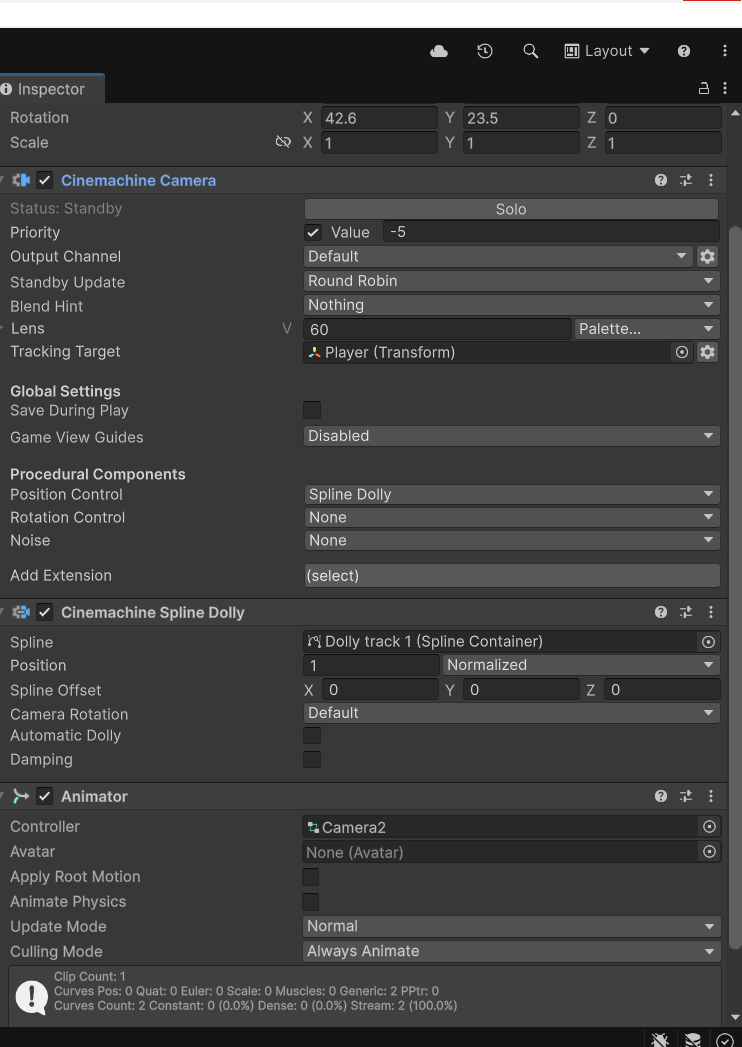
(Figure 4 - dolly cam settings.)
Finally, my secondary post-processing zone uses the grayscale scripted effect we were provided in the tutorial, alongside some camera distortion in the opposite direction to the other post processing zone, creating a fisheye effect.
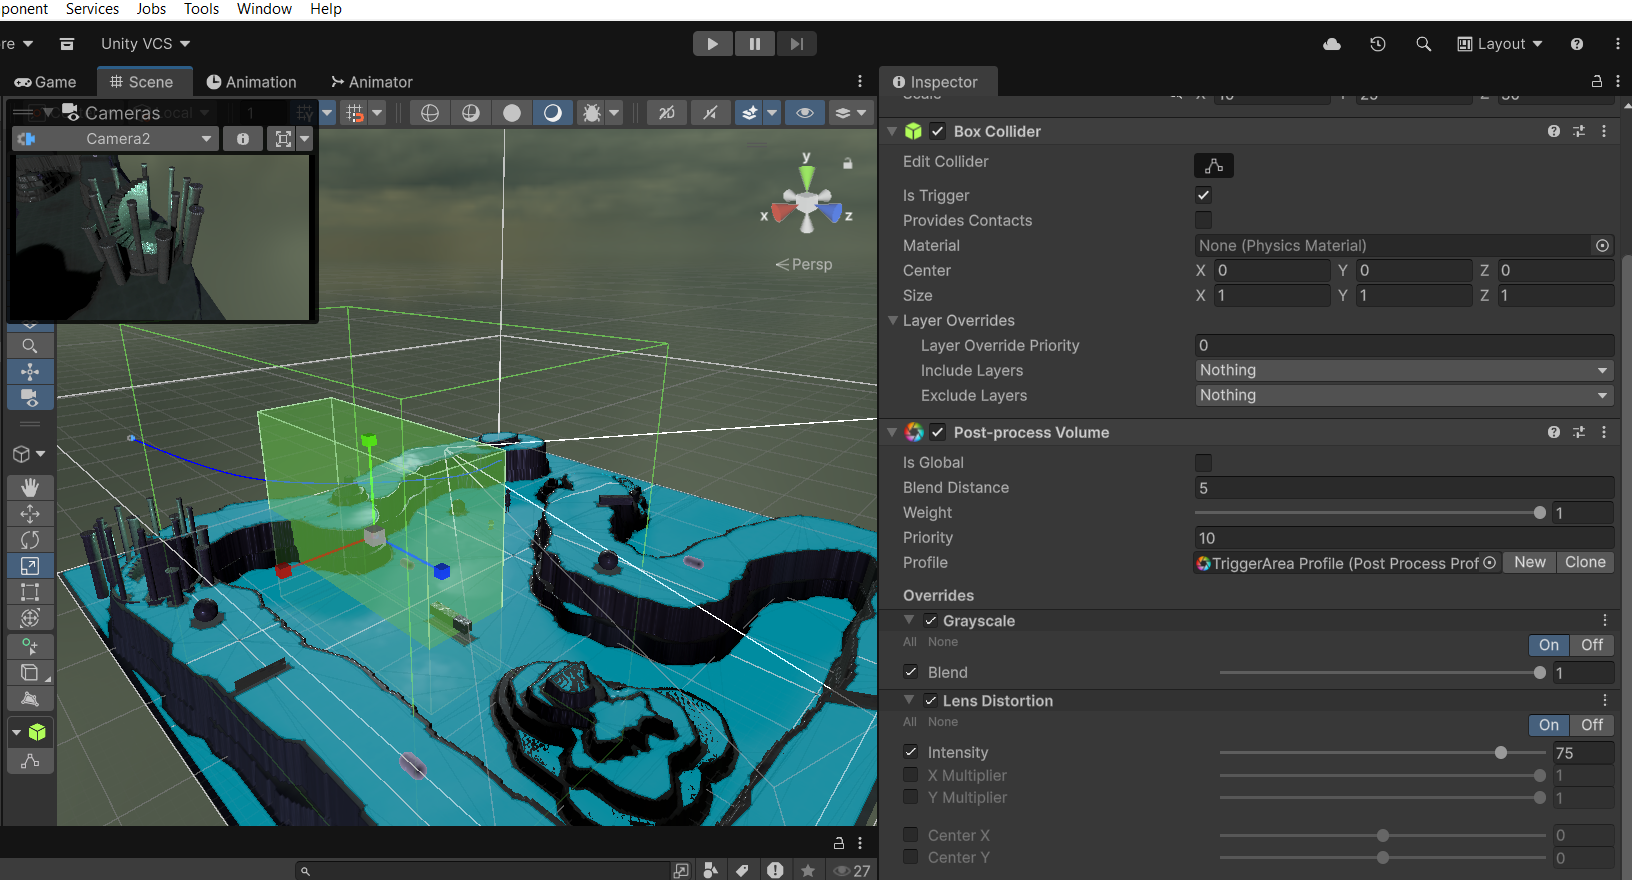
(Figure 5 - post-process volume 2 in-scene & settings.)
Combining all of these visual changes together, my scene ended up looking like this on play:
Leave a comment
Log in with itch.io to leave a comment.